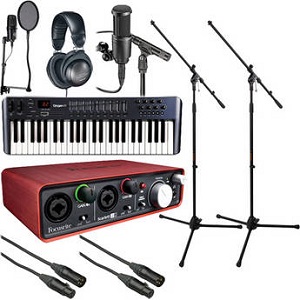
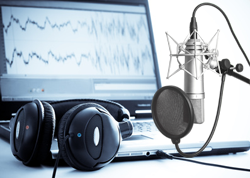
 This is part 2 in a series called How to Build a Home Recording Studio, where you learn how to set up a computer-based studio capable of recording pro-quality audio.
In part 1, I left off in the section talking about ways of preventing noise in our recordings. The best way to do this is to record in an acoustically ideal space. One that not only is dead quiet, but does not affect the audio in a negative way either.
What are my options?
Since those spaces are really hard to come by, the next best option would be something like a purpose-made vocal isolation booth. You need the kind treated with acoustic materials to prevent and/or absorb echos, allowing you to record only the signal. Let’s take a look at some of these.
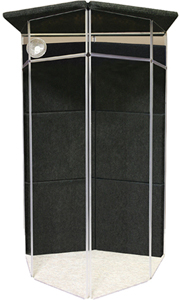
You can buy a full-blown vocal booth, such as the Clearsonic IsoPac, which will run you about $1,100. You can also build your own, or convert a closet for the purpose.
I do NOT recommend trying to convert a closet in your room into a vocal booth. Yes, it will be quiet and block out external sounds. But simply blocking out the lawn mowers, trucks, and barking dogs is not enough. The room sound in even a tiny room can sound bad, especially in the case of a square or rectangular closet. Either stuff it full of very absorptive materials so no sound can reflect of the walls, or make sure there are no parallel surfaces – preferably both.
For most of us, it is often impractical or too expensive to have either a very quiet recording space, or a good sounding isolation booth. Most of us do our recording in a spare bedroom, and bedrooms are notoriously effective at producing “bad” echos that when added to the signal, make the audio worse.
Why do bedrooms sound so bad?
Sound bounces off of hard surfaces all over your room, combining with each other to amplify and/or reduce certain parts of the sound. Then all these different mutant versions of your voice arrive at the microphone along with the direct signal. The results are echo-y at best, and likely will also sound unnatural and funky (sounding muffled, tinny, or like it came over a telephone – or even all of these).
If you’ve watched a lot of internet videos where someone is narrating, you have almost certainly heard the echo-y room sound thing. In fact it is way too common that a very slick and professional looking video has poor audio laid over the top. Usually it sounds like the person is speaking in a bathroom or something.
In the case of talking-head videos (a person talking to the camera – not the 80s rock group:)), this is almost always caused by the fact that the narrator is relying on the built-in camera mic, which is several feet away. The further your sound source is from the mic, the more room sound will be recorded.
Alternatives to sound booths
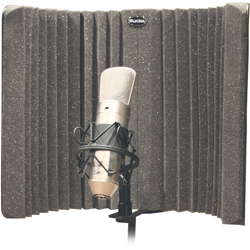
One alternative to a full isolation vocal booth is a small and portable boundary or isolation “shield” that can be placed behind a microphone, such as the sE Electronics Reflexion Filter, or the Aurlex MudGuard Isloation Shield.
These have several different types of acoustic treatment materials to prevent your voice from bouncing off the walls, and helping to block any reflections from getting back into the microphone. These are usually semicircular and protect the areas behind and to the sides of a mic. But something like that won’t work for a talking-head video.
So the first thing we have to do is deal with room noise before any sound reaches the mic.
If you can afford acoustic absorbing foam on your walls, it will be so much easier to reduce room noise. A good place to start is with Auralex products. But if you do not have any acoustic foam on the walls, the following tips will help immensely.
If you don’t have any acoustic foam on the walls…
Tip #1: Use a mic with a cardioid pickup pattern.
Fortunately, most mics default to that pattern. Cardioid mics record only what is in front of them. They reject any sound coming from behind it and most of the sound coming from the side. These can help reduce room noise a lot.
Tip #2: Get your mouth close to the mic – like just a couple of inches.
This will help the mic get mostly your voice (the signal) and less of the reflected sound. This is probably the most important thing you can do if your recording space is less than ideal. This is doubly true if you are shooting “talking head” video. See our article, 3 Must-Know Tips For Getting Quality Audio From Your PC Recording Studio for more on this.
Tip #3: Make sure you record as loud as possible without distorting/clipping.
A LOT of people make this mistake. They record their voice at a low level, and then they raise the level after the fact. The problem is that they are also raising the noise when the do this. So make sure to capture as high a level as possible of your voice in the first place. You can use the gain level on your interface (if you have one) or use the software mixer panel controls to do this.
Tip #4: Noise Reduction.
The next step in producing clean audio is to reduce the noise that will inevitably be in our recording when our rooms are less than perfect. The way to do that is to use tools in recording software called noise reduction.
What NR does is sample a section of the audio that is ONLY noise (when there is no voice talking), so it knows what to turn down. Then the program separates the noise from the signal and gets rid of it, ideally leaving the signal/voice unaffected. That last bit is really hard to do. There is often some “artifact” left behind after NR is performed. It usually sounds like swirling water. So you have to play with the settings to find the right balance of noise reduction without making the signal sound too weird. And the more noise there is to start with, the worse that swirly artifact is.
If you do all four of those things, you can get the best possible audio out of the cheapest possible gear. It’s what I did in the $5.00 vs $500 thing.
That is the first answer to the question of how we move toward pro audio from the $5.00 setup – having a basic understanding of how to limit noise.
In the next installment of this series, we’ll talk about digital audio what kinds of microphones can be used to give us even better sounding audio.
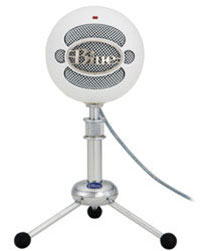
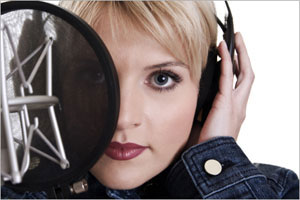 When a band records a song, the engineer needs to get the different instruments on different tracks in order to mix and edit everything properly. These days, when track-count is not an issue (due to computer recording – in the 1960s for example, The Beatles only had 4 tracks to work with most of the time!), it isn’t unusual to have 50 tracks or more, each with a different take for every musician in the band.
 You are probably familiar with WAV files. They are pretty much the default audio file for computers. They are uncompressed, non-lossy audio files, which means that they are typically large in size – mainly because WAVs are high-quality files. This is in contrast to MP3 and other audio file types you see on the internet, which have had audio information removed and compressed and otherwise mangled to make the file size small enough to work on the internet. Technically MP3s are not as as good as WAV files for audio quality.