 We’ve been doing a series of articles and videos showing you how to produce better sounding audio even in (especially in) bad-sounding rooms, such as the converted bedrooms that so many of us use as home recording studio spaces. You can find the first post in the series is here, if you have not seen everything in order yet. Today marks the fourth week and fourth tip to help you sound more professional. This one is applicable primarily to vocal recordings – for voice-over or for singing. It’s time to tame the dreaded p-pop!
http://homebrewaudio.wistia.com/medias/z567xm8hkn?embedType=seo&videoWidth=640
Whenever we record words with a “P” or “B” in them, we’re creating a sound that linguists call a “plosive.” But when recording into a very sensitive microphone such as a large diaphragm condenser (LDC), which is probably the most common type of vocal recording mic, these plosives tend to create an unpleasant burst of low-frequency noise sounding like a small explosion. Sensitive microphones don’t like sudden blasts of air, so the result is an excessively loud plosive often called a “p-pop.”
Can’t I Just Use A Pop Filter?
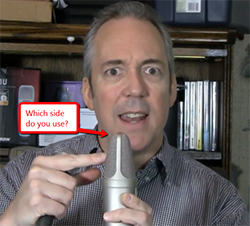
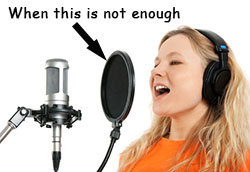
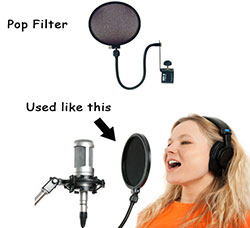 It’s common practice to use a pop filter when using an LDC mic. You place them between your mouth and the mic to help tame the p-pops. But some still get into the recording. And if you are recording in a poor sounding room, our first tip – getting your mouth 3 to 4 inches from the mic (unlike the girl in the picture on the right) will instantly improve your sound. However, even with a pop filter in place, getting that close to the mic will increase the problem of p-pops.
So though you can use a pop filter to help minimize those misbehaving plosives, you have to make peace with the fact that some will end up in the recording.
So what do you do now? You edit. You can fix p-pops using audio software after they have already been recorded. I tend to use Reaper for all my recording needs. However, though you CAN use Reaper to fix p-pops in an audio file, it is pretty time-consuming and cumbersome, as you’ll see in the video above. This is definitely a job for an audio editor, such as Audacity, Adobe Audition, Sony Sound Forge, etc.
In the video, you’ll see how much faster and easier it is to use an editor. I demonstrate how to do it in Audacity, which is free. So hey, once again you get a tip that won’t require you to buy or build anything. that’s four for four!
Don’t Miss Out
Make sure you don’t miss any of the tips in this series. Put your email into the form below and get not only the rest of this series as it rolls out, but also the first 8 videos in our tutorial course “The Newbies Guide To Audio Recording Awesomeness 1: The Basics With Audacity.” This course shows you how to set up and start using your home recording studio for a budget of about five bucks (or less) in about 30 minutes.
We will not spam you with e-mails! We typically don’t send more than one message per week, and each of those will only be intended to help you make better audio recordings in your home studio.
 For the past 3 weeks, we’ve been posting videos and articles that show you how to dramatically improve the quality of the audio you record in your home studio – especially voice recordings.